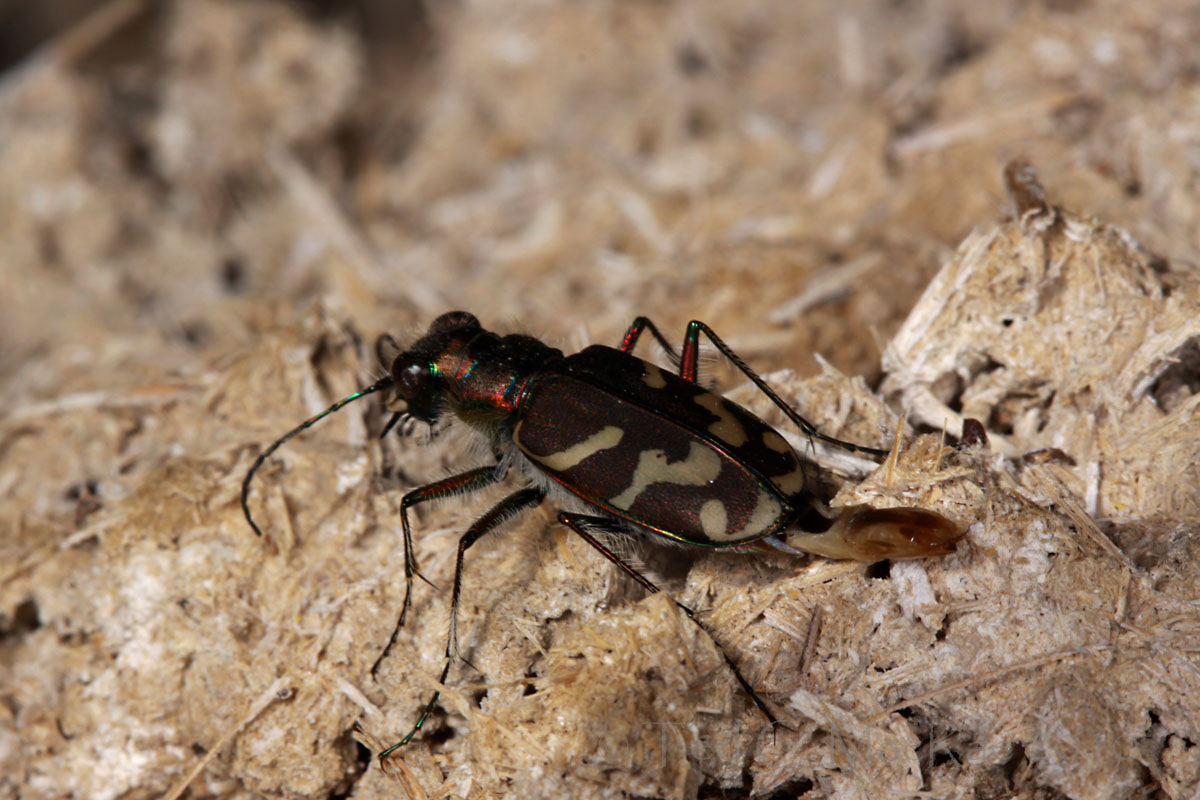
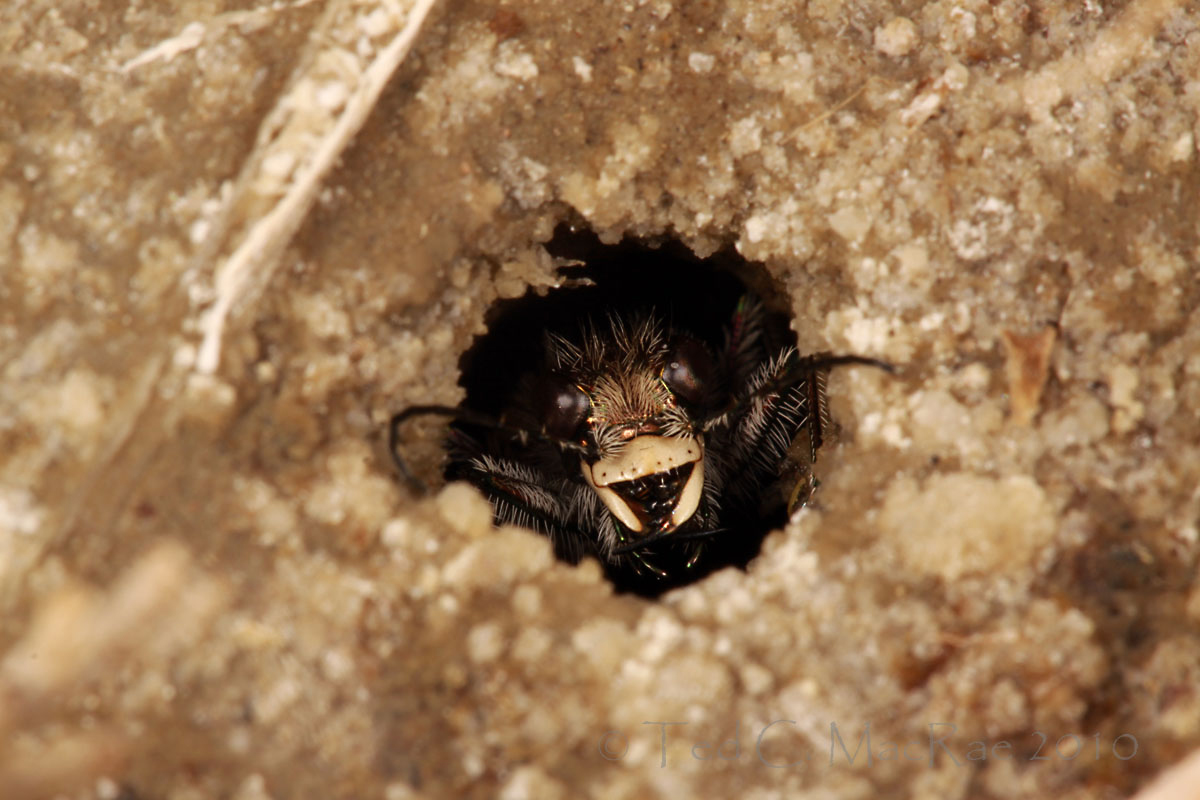
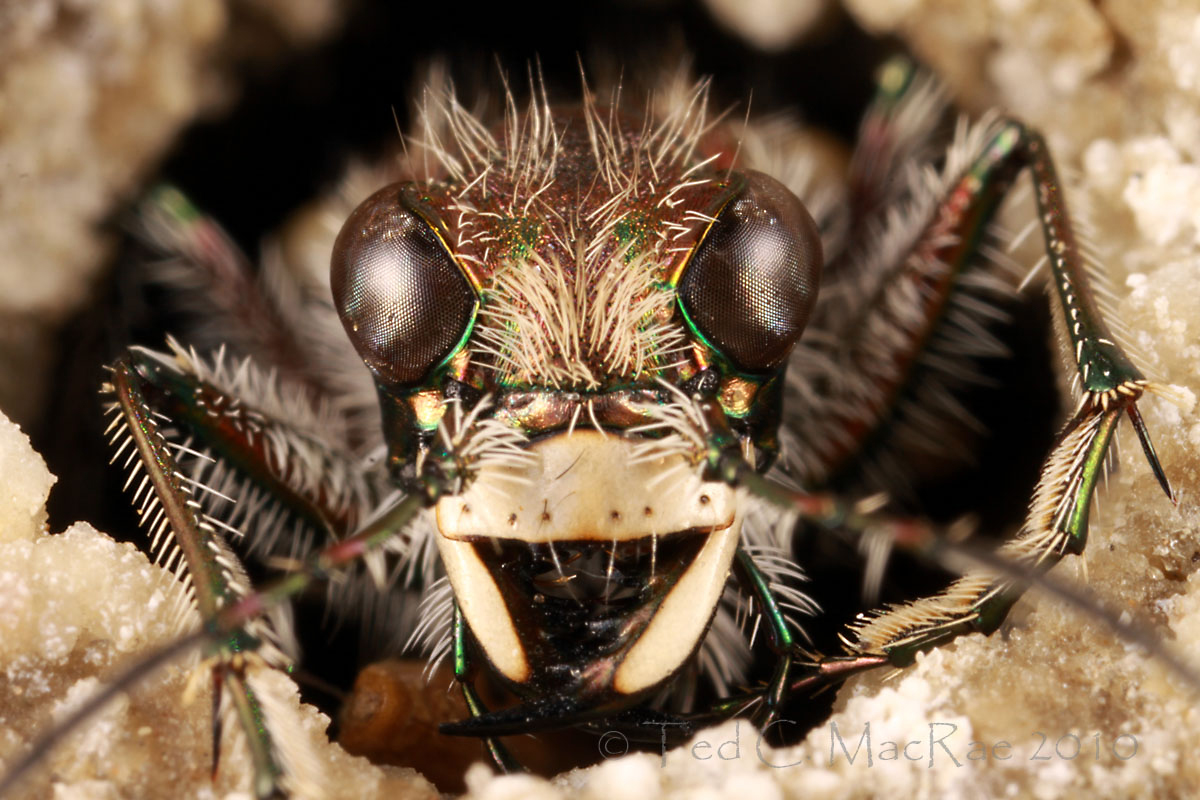
Warning: post contains lots of hardcore, beetle-collector geekery!

A nice selection of tiger beetles and buprestid beetles.
A few weeks ago I got an email from fellow buprestophile Henry Hespenheide (Professor Emeritus, UCLA) asking if I needed any specimens of Agrilus coxalis auroguttatus – recently dubbed the “goldspotted oak borer” after it was discovered damaging oaks in southern California (Coleman & Seybold 2008). I replied that I did not have this species in my collection and that I would be grateful for any examples he could provide. Shortly afterwards, I received another message from him saying that he had just placed in the mail a small box with a male/female pair of that species – along with about two dozen tiger beetles for my enjoyment! Later that week I received the shipment at my office – I couldn’t wait to open it up and see what goodies were inside!
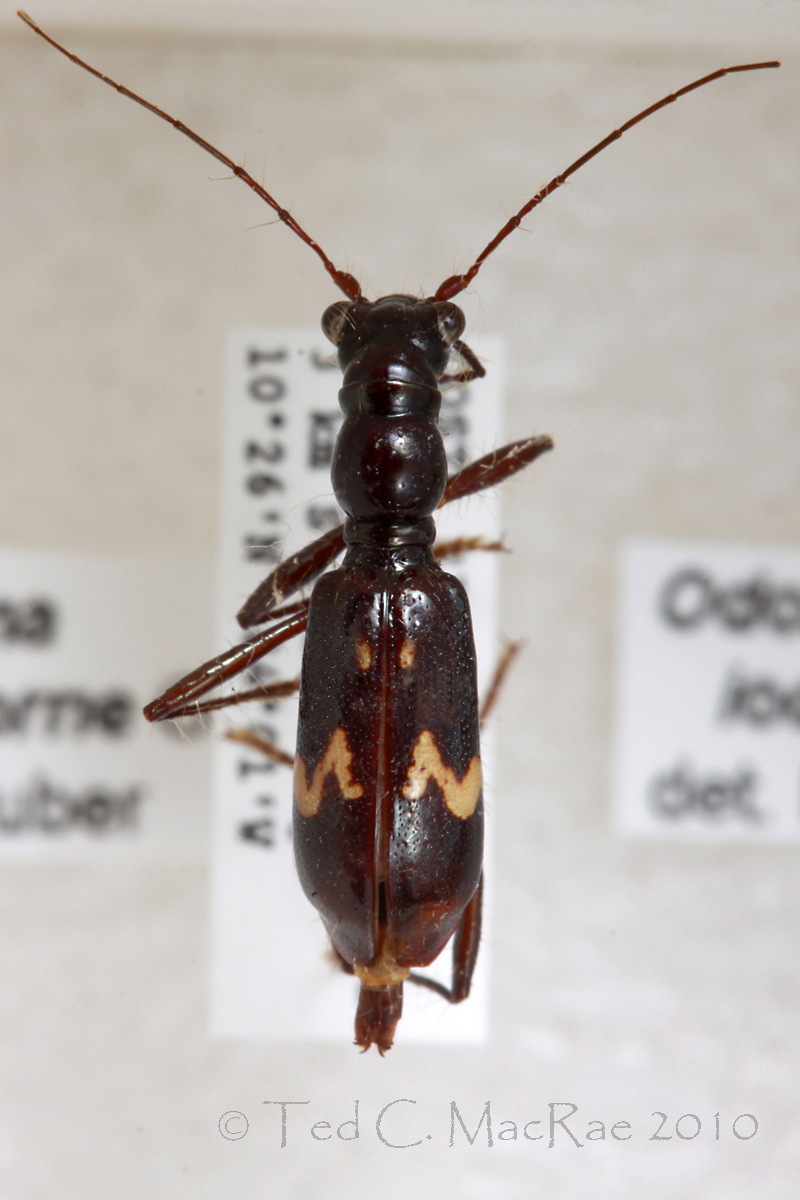
Ctenostoma maculicorne (Chevrolat, 1856)
Opening a box of just received specimens is a little like opening presents on Christmas – you don’t know for sure what’s inside, but you know you’re gonna like it! This time was no exception, and I delighted as I realized the sending contained a dozen or so tiger beetles from Costa Rica and Nicaragua (a region in which Henry has spent many of his years studying the leaf-mining and twig boring buprestid beetles). My eyes were immediately drawn to two tiger beetles in particular – specimen #1 in the first row, and specimen #4 in the second row. Why these particular tiger beetles? Obviously they are among the more showy specimens in the sending, but more significantly both of them belong to genera not represented in my collection. The first of these is Ctenostoma maculicorne, representing also a new tribe for my collection (Collyridini, subtribe Ctenostomina). I’m glad Ron Huber had already identified this specimen, as I probably would’ve only been able to determine the genus. Beetles in this group are ant mimics, but in a much different manner than our U.S. ant-mimics (Cylindera cursitans and Cylindera celeripes). Those latter species are found strictly on the ground (as are all U.S. tiger beetle species), while species of Ctenostoma are largely arboreal. Troy Bartlett at Nature Closeups has some great photographs of another species in this genus seen last January in Brazil (Caraça Natural Park, Minas Gerais) that show just how ant-like these beetles can appear as they crawl about on twigs and branches.
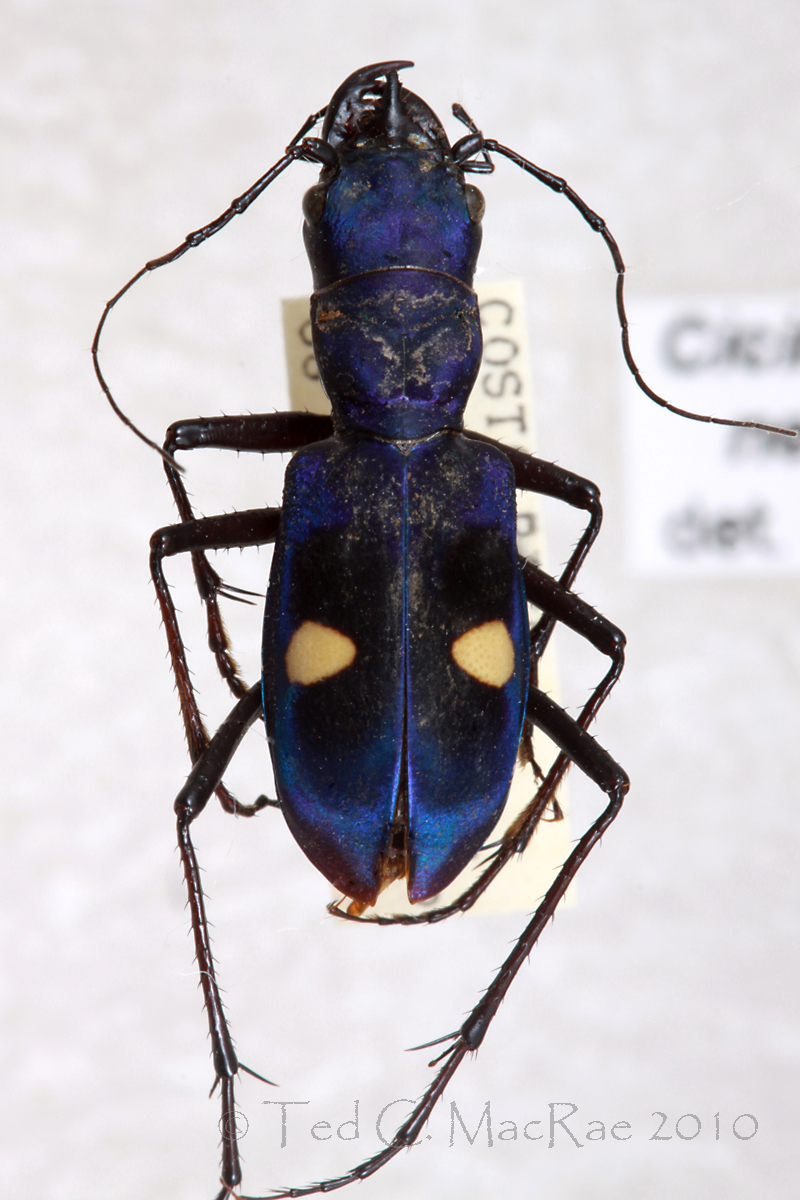
Pseudoxycheila tarsalis Bates, 1869
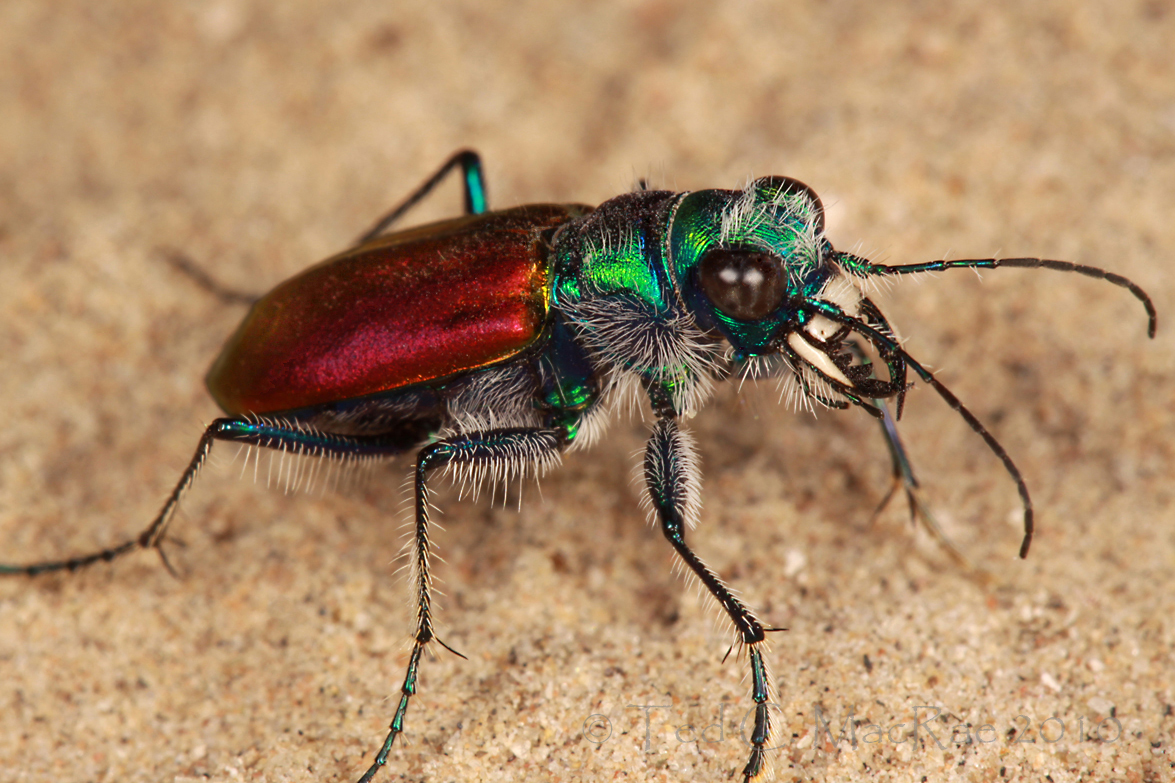
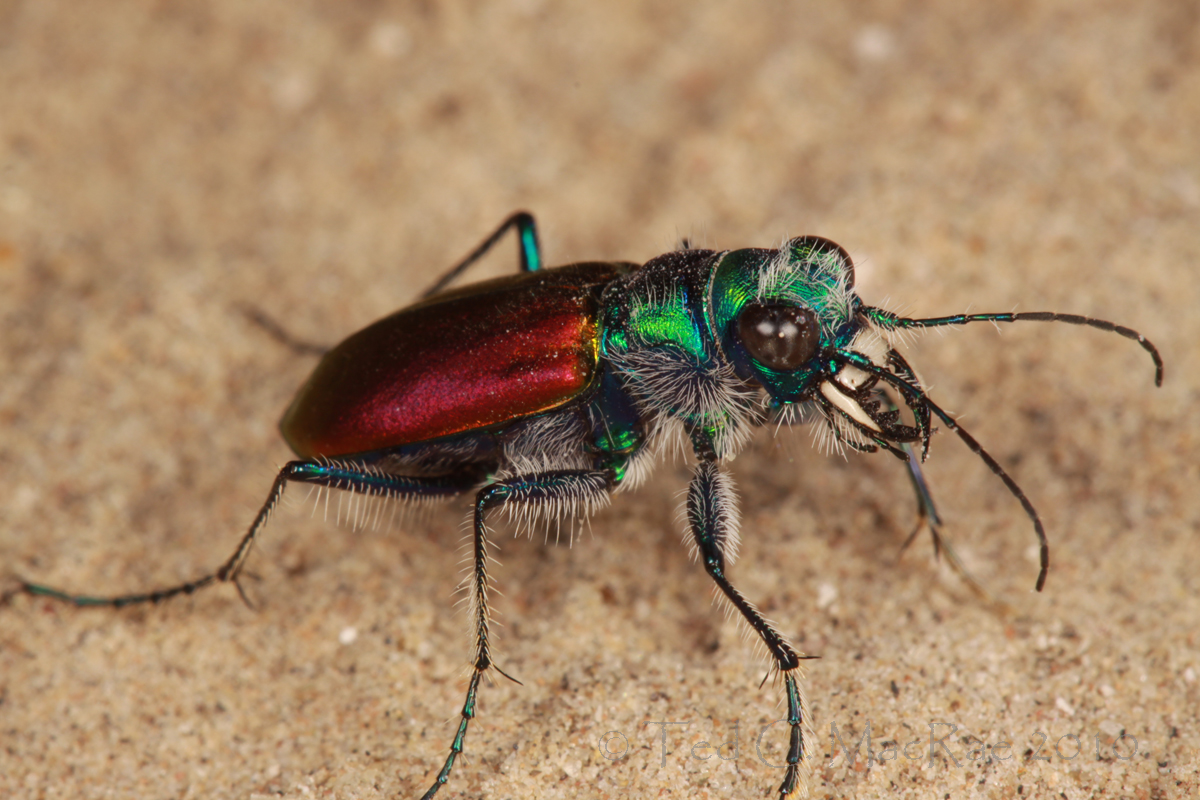
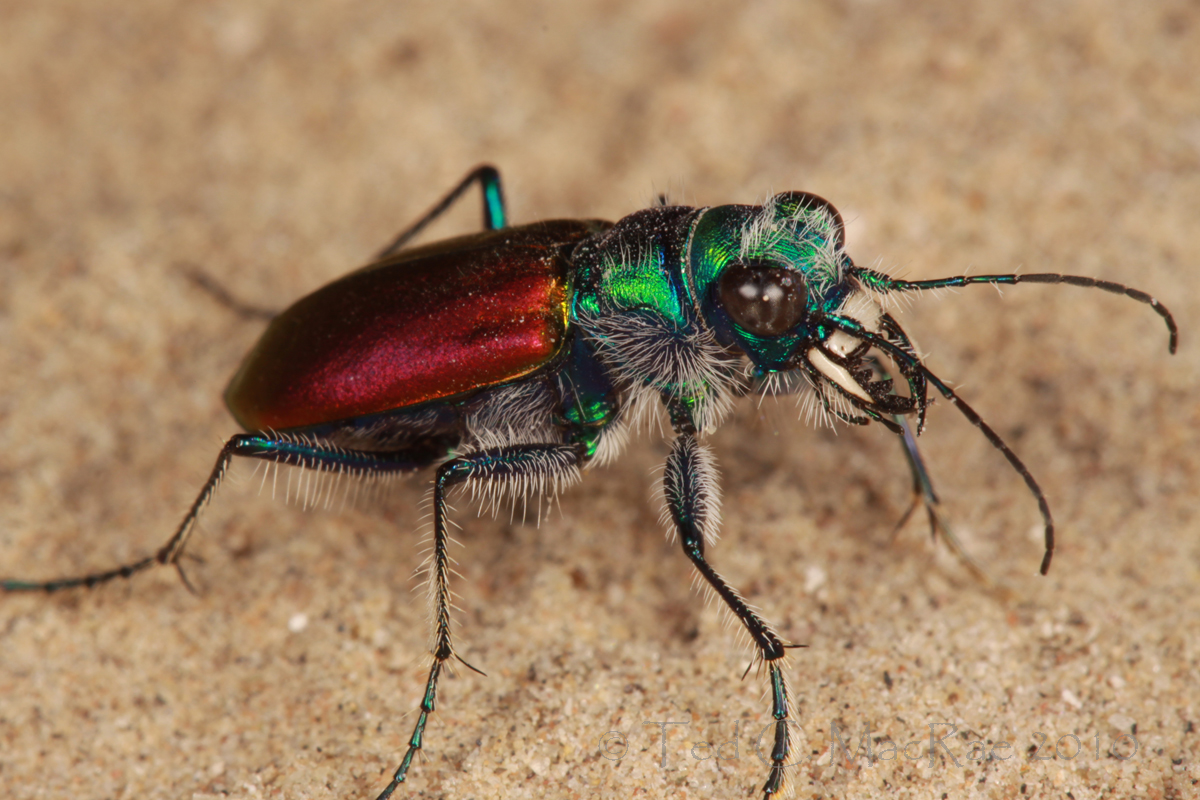
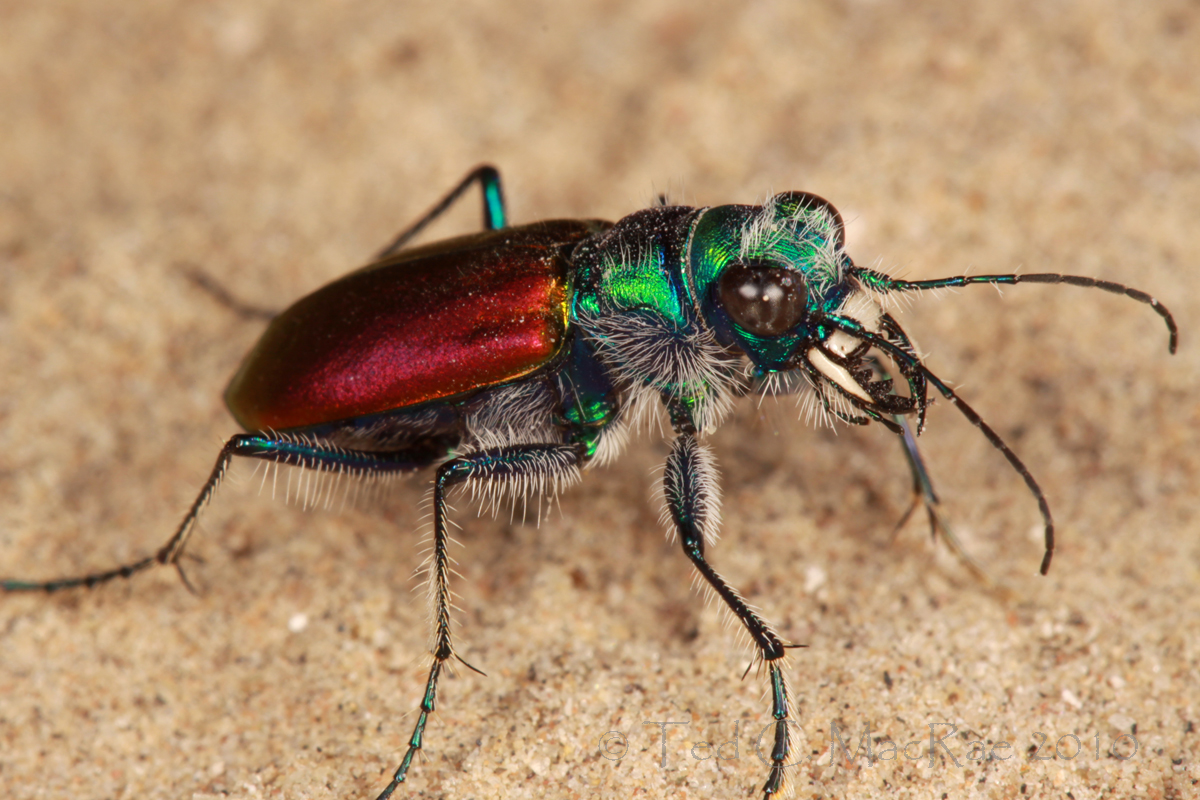
Despite lacking an identification label, I recognized the second specimen instantly as Pseudoxycheila tarsalis, dubbed by Erwin & Pearson (2008) as the “Central American montane tiger beetle.” Pseudoxycheila is a rather large Neotropical genus (21 known species), but only P. tarsalis occurs north of South America. Morgan Jackson at Biodiversity in Focus photographed an individual of this species during his visit to Costa Rica this past summer. Its brilliant coloration is not only delightful to look at but also apparently aposematic in nature – Schultz and Puchalski (2001) found that benzene-like compounds isolated from the beetle’s pygidial glands are distasteful to humans, adding support to the potential of a Müllerian mimicry association with stinging mutillid wasps in the genus Hoplomutilla, which they resemble. Note also the curious spine on the frons extending out over the mandibles – maybe it not only grabs its prey with its toothy jaws but also “stabs” it for extra measure (just kidding – though I do wonder about the function of that spine. I’m not aware of its presence in any other genus of tiger beetles).
I also noted an interesting pair of tiger beetles that looked very different from each other, yet were both identified by Ron Huber as Tetracha ignea. This species was recently synonymized under the nominotypical form of T. sobrina (Naviaux 2007) – the “ascendent metallic tiger beetle” (Erwin & Pearson 2008), a highly variable species with numerous described subspecies occurring in southern Mexico, Central America, northern South America, and the West Indies. The specimen on the left has the normal appearance of T. sobrina sobrina, but the specimen on the right looks like it might have suffered some chemical discoloration (a common occurrence among collected tiger beetle specimens).
Update 16 Dec 2010, 12:00pm – I just learned from Henry that the Tetracha specimen on the right (from Nicaragua) was not seen by Ron Huber and, thus, is likely not conspecific with the specimen on the left (T. sobrina from Costa Rica). That’ll teach me to blindly accept what I see but does not seem right. Now, time to pull out my copy of Naviaux (2007) and test my abilities to work through a key written in French!

Tetracha sobrina sobrina Dejean, 1831 (L); Tetrach sp. undet. from Guatemala (R).
There are several other interesting species in the sending – some determined (two species each of Oxycheila and Brasiella) and others that I need to look at more closely. You may note on the bottom row a few specimens of a species of Elaphrus – a genus of true ground beetles that often fool collectors by their strong resemblance to tiger beetles (looks like they fooled Henry, too). As for the beetles that were the reason for this shipment in the first place, these are shown in the image below. Agrilus coxalis auroguttatus was recently discovered as the cause of significant mortality in several species of oak trees in San Diego County (Coleman & Seybold 2008), thus joining the introduced Agrilus planipennis (emerald ash borer) and several native Agrilus spp. on the ever-growing list of buprestid beetles achieving economic pest status in North America. This subspecies, known for many years from southern Arizona (where it is not a pest), is curiously widely disjunct from nominotypical populations in southern Mexico. Its sudden appearance in southern California has all the hallmarks of being a human-aided introduction, although natural range expansion remains a possibility.
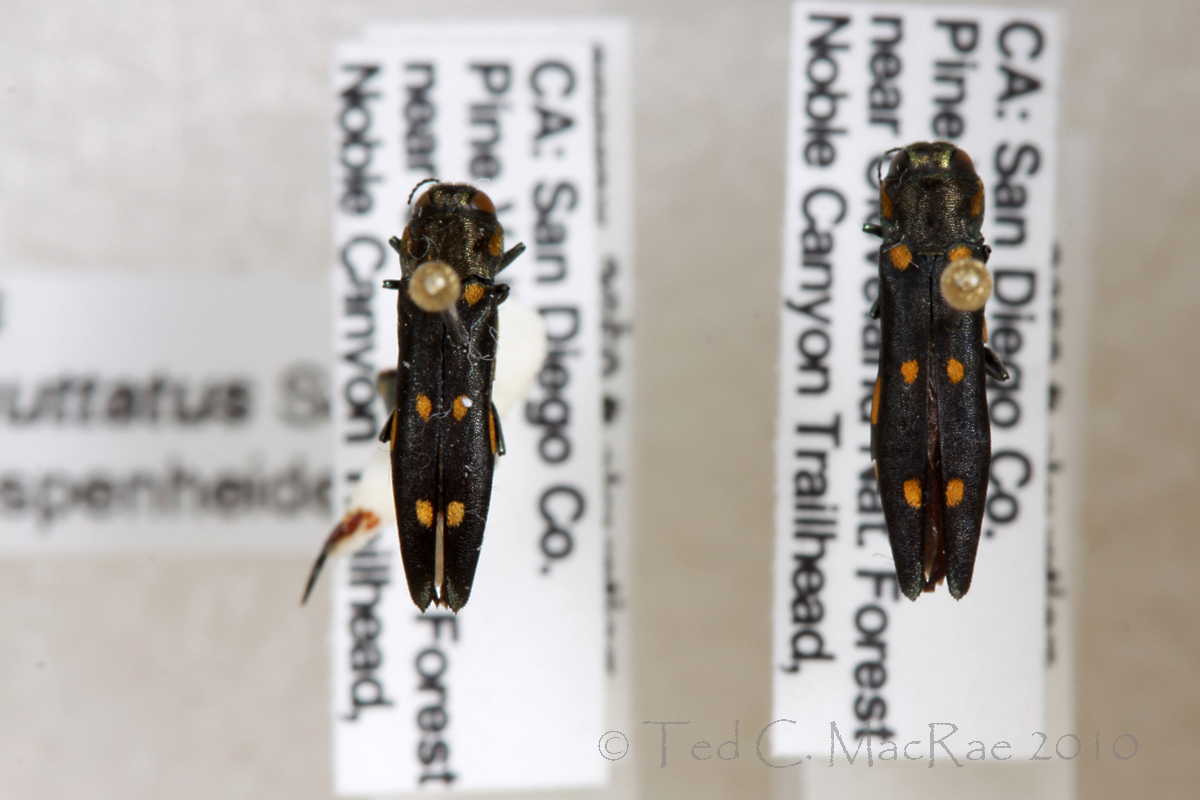
Agrilus coxalis auroguttatus Schaeffer, 1905
My deep appreciation to Henry Hespenheide for gifting me these specimens and for his always enlightening and often entertaining correspondence over the years.
REFERENCES:
Coleman, T. W. and S. J. Seybold. 2008. Previously unrecorded damage to oak, Quercus spp., in southern California by the goldspotted oak borer, Agrilus coxalis Waterhouse (Coleoptera: Buprestidae). The Pan-Pacific Entomologist 84:288–300.
Erwin, T. L. and D. L. Pearson. 2008. A Treatise on the Western Hemisphere Caraboidea (Coleoptera). Their classification, distributions, and ways of life. Volume II (Carabidae-Nebriiformes 2-Cicindelitae). Pensoft Series Faunistica 84. Pensoft Publishers, Sofia, 400 pp.
Naviaux R. 2007. Tetracha (Coleoptera, Cicindelidae, Megacephalina): Revision du genre et descriptions de nouveaus taxons. Mémoires de la Société entomologique de France 7:1–197.
Schultz, T. D. and J. Puchalski. 2001. Chemical defenses in the tiger beetle Pseudoxycheila tarsalis Bates (Carabidae: Cicindelinae). The Coleopterists Bulletin 55(2):164–166.
Copyright © Ted C. MacRae 2010